4 BREATH-TAKING HIKES IN GLACIER NATIONAL PARK
If you’ve never been to Montana before, be prepared to fall in love. This past week I visited Glacier National Park for the SECOND time this year, and I’m still obsessed with the unreal beauty of the mountains.
One of the biggest parts of planning a trip to a national park is deciding which natural beauties you want to see. . .and what better way to do that than to go hiking! Here’s a complete guide to my four favorite hikes in Glacier National Park!
Table of Contents
Time of Year to Go:
I’ve been to Glacier in both the late August and mid-October, so I’ve seen how drastically the weather can affect your park experience. I recommend planning your trip during the summer because the higher elevation trails will be closed once it starts snowing (and even in October, the trails in the valley can be covered in snow). Anything along the Going-to-the-Sun Road is susceptible to weather, so this gorgeous trek up the mountains will likely be shut down after the warmer weather has subsided. You definitely don’t want to miss the edge-of-the-world views the road offers of the mountain valley!

Accessing the Park:
A lot of popular national parks—like Glacier, Yosemite, and Zion—are beginning to require reservation passes for the peak season, so check the Recreation.gov website for dates you may need to purchase a pass. You’ll need to plan this purchase in advance, as there are only two open windows for you to grab a pass ahead of time (either 60 days in advance or 2 days beforehand). There are limited tickets to ensure minimal crowding, so snag your tickets at the time listed on the website. This reservation pass does not include the $35 national park pass you buy at the gate.
You’ll have to show the confirmation email for your pass at two different checkpoints before accessing the Going-to-the-Sun Road.
What to Bring:
Bear Spray: Montana is bear country, so you need to be prepared for an encounter with wildlife. You can buy bear spray at a gas station or a sporting goods store (or check if your Airbnb has some), so don’t go out into nature without it.
Layers: Even in the summer, the mornings can be pretty chilly at the higher elevations in Glacier. Make sure you bring layers you can easily stash in your backpack as you warm up throughout the hike.
Hiking boots: Make sure you pack a supportive hiking book with a thick sole. The trails cover a multitude of terrains—and they can get icy, especially after summer—so having a comfortable shoe that’s made to trek through the elements is essential. My hiking boots are Vasque brand and they’re great boots that come in cute colors.
LOTS of water and snacks: Make sure you’re staying hydrated throughout the day and have plenty of energy-sustaining snacks. This is essential for your body’s energy levels, especially on longer hikes. I recommend investing in bear bags to stifle the scent of your food so that the wildlife isn’t attracted to you.
Hiking Poles: Because the hikes in Glacier are often quite steep and can cover difficult terrains, it might be worth investing in hiking poles. Hiking poles can help you propel yourself up steep inclines and keep you balanced.
What to Know Before You Go:
There are a few things to be aware of before you drive into the park:
1. Be respectful of the preservation of this park: leave no trace behind, don’t approach the wildlife, and don’t have an open flame that could start a fire.
2. Get there early—especially if you’re doing a long or popular hike. Areas like Logan Pass tend to get crowded, so arriving before peak hours will save you parking time.
3. Ask the park rangers at the entry gate if your hiking trail is open. Sometimes the trails are closed due to heightened bear activity or weather, so double check your hike is still accessible.
4. If you do plan a summer trip, be aware that it is forest fire season and the air quality may be smokey.
5. If you’re looking for hikes with a lot of greenery, check out trails higher up along the Going-to-the-Sun Road. Much of lower Glacier has been affected by wildfires and the trees are still recovering.
6. Glacier is home to grizzly bears, so make sure you know what to do if you have an encounter. Bears tend to stay away from loud sounds, so here are a few tricks to deter them: clapping every few minutes, playing music on a speaker, or talking loudly. If you do happen to stumble across a bear, here’s a great guide for what to do. ALWAYS pack bear spray (NOT pepper spray). If you don’t want to buy a whole can, there are places that you can rent them.
7. The Going-to-the-Sun Road gets VERY narrow and steep once your pass Avalanche Creek. Be aware of the dimensions of your vehicle as Glacier does have restrictions for cars going past this point. Check out the size dimensions here.
I’m super excited to share my four favorite Glacier National Park hiking trails—they are UNREAL, you guys. All of these hikes are out and back trails, so the distance is a combined mileage to the summit and back.
1. The Highline Trail

Distance: 15.3 miles
Time: 8 hrs. 45 mins.
Summit Elevation: 7, 540 ft.
Don’t be intimidated by the mileage—the Highline Trail is beyond worth every step. This trail is my favorite hike I’ve ever done and has been deemed as one of the most beautiful in the U.S. There wasn’t a single moment where I wasn’t stunned by the breath-taking views!
Plan to do this hike during the summer months because the trail will likely be closed past September. The trailhead is located at Logan Pass, across the street from the visitor center. Make sure you get there EARLY. We arrived around 8 am and were already fighting for parking.
The Hike:


The trail is fairly straightforward—it doesn’t fork until the last half mile or so and is fairly level except for a few moderate inclines.
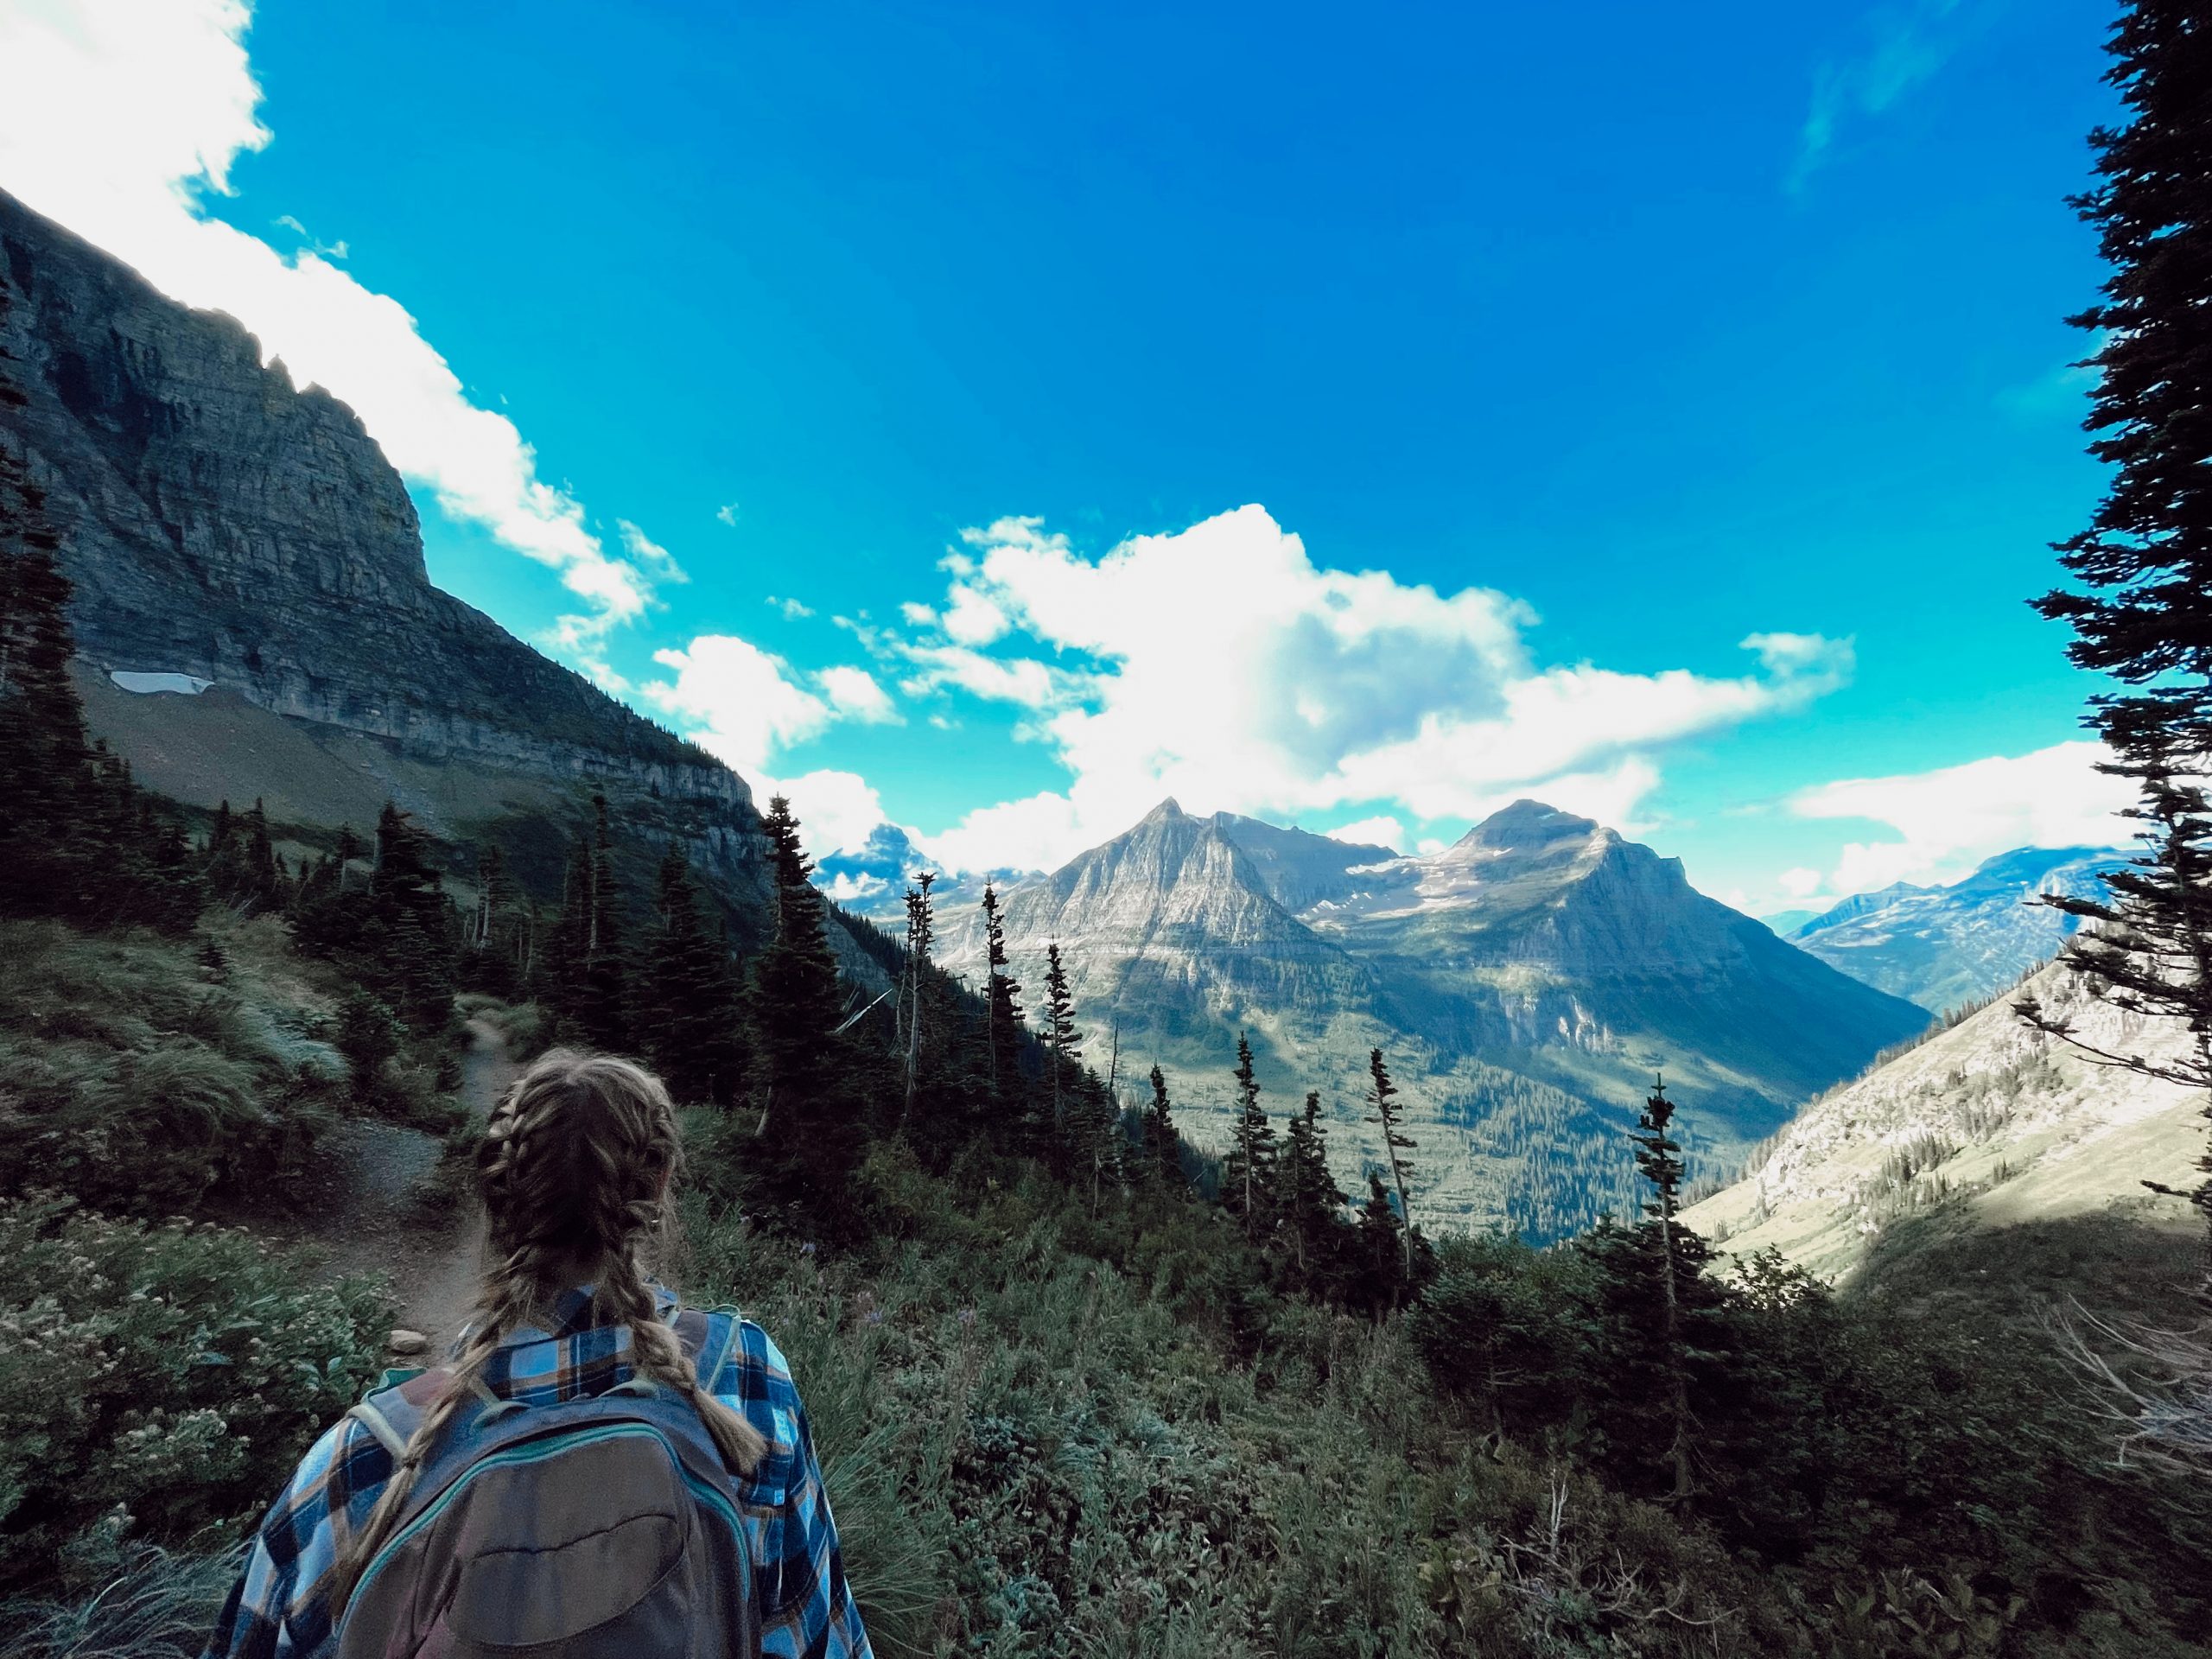
The hike begins along the cliff face overlooking the mountain valley. The path here is a very narrow, rocky ledge, but there’s a rope to hang onto if you’re uncomfortable walking along the edge. From here, there isn’t much tree coverage through the next stretch of the trail. The path is mostly exposed to the outer edge of the mountain, winding through flowery meadows and high cliff lines. Be on the lookout for bighorn sheep, mountain goats, and TONS of chipmunks!
The Summit:


Once you hit around 6.4 miles, the trail will fork into either a trail for the Grinnell Glacier overlook or the Grinnell Chalet. I went up to the Grinnell Glacier, which was a scene straight from a postcard! I mean, seriously, look at all that beauty! The last 0.60 miles until the summit, I’m not going to lie to you, is brutal. It’s a steep incline to the summit, but it’s manageable if you pace yourself with tons of breaks to catch your breath. Plus, once you get to the top, you’ll feel like you’ve hiked to the top of the world.
2. Avalanche Lake


Distance: 4.5 miles
Time: 2 hrs.
Summit Elevation: 4,031 ft.
Okay, this trail gives me SERIOUS Twilight vibes. There’s towering evergreens and pine needles and moss clinging to every surface—so basically, every Pacific Northwest stereotype Stephanie Meyer pitched at us. We did this trail on a particularly weather-worn day and I would honestly recommend saving this hike for a rainy or snowy day. The fog and snow on our hike actually enhanced the beauty of the hike!


You can access the hike via the Trail of the Cedars, which splits into two separate trails before coming back together about a mile in. There is a boarded section that is wheelchair accessible and is also quite nice if you need a break in terrain. It’s a fairly easy trail that took us about two hours total for a roundtrip hike. Once you get to the summit, the woods open up onto a beach overlooking Avalanche lake and the mountains beyond.
3. Mt. Brown

Distance: 10 miles
Time: 6 hrs.
Summit Elevation: 7,500 ft.
This trail is directly across from the Lake McDonald Lodge. You’ll need to start on the Sperry Trailhead and cut onto the Mt. Brown Lookout trail after about 1.5 miles. Mt. Brown is the steepest trail in the park, and the climb is no joke. There’s over a 4,000 ft. elevation gain, dropping you off at about 7,500 ft. by the time you reach the peak. Don’t let that scare you off though. This peak has the most incredible views: a 360˚ panorama of the west side of the park and a full view of Lake McDonald. Looking across the snow-capped mountains—adrenaline pumping and the edge of the world falling away beneath your toes—you feel as if you’re reaching into heaven.
Keep in mind that—especially during the fall and winter months—this trail is susceptible to a lot of snowfall towards the peak. We went in mid-October, and by the time we reached the summit, the trail was completely buried in about a foot of snow. You can navigate this by stepping in the prints already made by other hikers so that you can keep track of the trail. Towards the last mile or so to the summit, the trees begin to thin and the trail opens to the edge of the cliff faces. If you’re unsure whether the trail is safe enough to continue, this is also a great place to turn back and still have those incredible full-circle views.

Make sure to give yourself a full day for this trail. Because the trail is such a steep trek, you’ll need to account for a generous amount of water (and breathing!) breaks. My friends and I took breaks about every five to ten minutes, which really helped preserve our energy.
4. Hidden Lake


Distance: 3-6 miles
Time: 1 hr. 30 mins–2 hrs.
Summit Elevation: 7,152 ft.
Like the Highline Trail, Hidden Lake is located at Logan Pass, directly behind the visitor center. This is a short hike that is family friendly and moderately accessible for all fitness levels. There are steps built into the mountain to make the climb up easier and there are quite a few stretches with boarded walkways.
The trail first stops at Hidden Lake Overlook, which is about 1.5 miles up the mountain. The overlook has a spectacular view of Bearhat Mountain and the aqua-colored lake at its valley. Most people turn back at the overlook, settling for a 3 miles hike overall, but you can also take the trail down an additional 1.5 miles to the lake. While my friends and I didn’t complete the full trail, the park rangers did warn us that this last stretch of the trail is difficult and is also known for its frequent bear activity. If you’re up for the challenge, keep your eyes peeled for black bears and grizzlies.
There you have it, adventurers—a full guide to four of the most gorgeous hikes in Glacier National Park! I hope you love these hikes just as much as I did. I’d love to hear your own experiences in the comments below!
Pin It!
Related Posts

HOW I RAN A HALF MARATHON IN GRAND TETON NATIONAL PARK
Imagine running through the valley of a beautiful Wyoming mountain-scape. Snowy peaks ridging across…
July 6, 2022
WHAT TO DO ON YOUR VISIT TO GRAND TETON NATIONAL PARK
Howdy partner, welcome to the wild west! Y’all should know by now that…
July 4, 2022